
There’s something truly charming about handmade decorations, especially when they bring a touch of autumn magic (and a little spookiness!) to your home. This fall, why not try your hand at crafting adorable clay ghosts and pumpkins? They're super simple to make, don't require any fancy equipment, and are perfect for adding a personalized, renter-friendly touch to your apartment.
You can use air-dry clay, which cures without baking, making it incredibly convenient for apartment crafting!
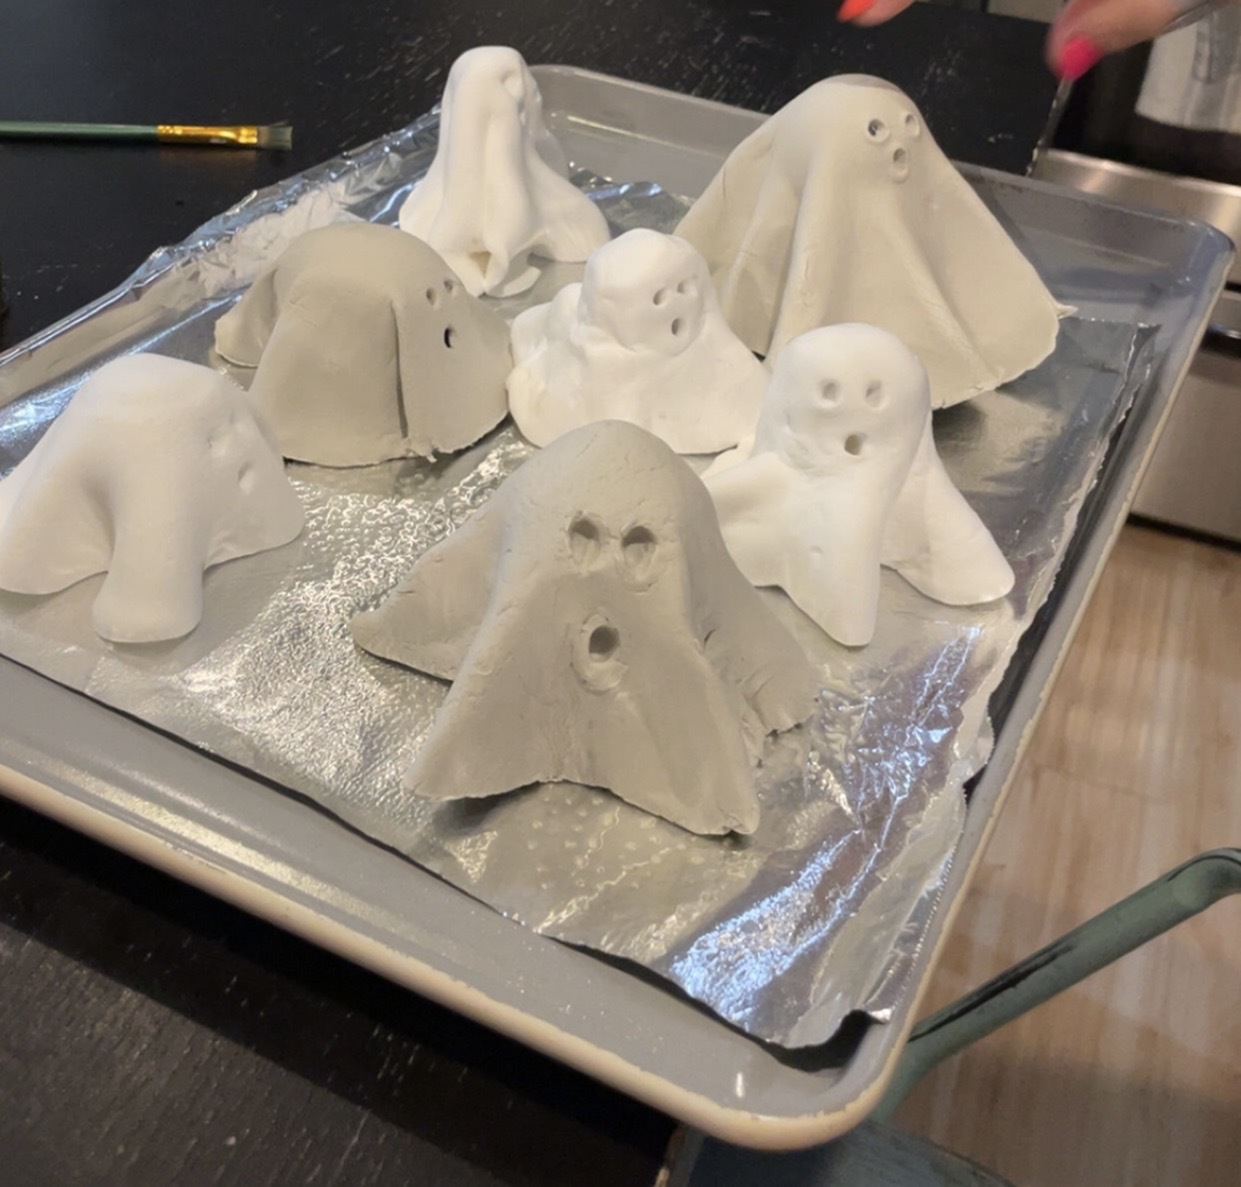
Above pictured are the ones I made!
What You'll Need:
-
Air-Dry Clay: White clay for ghosts, and orange/terra cotta clay for pumpkins (or white clay you can paint later). You can find this at any craft store.
-
Clay Tools: A plastic knife, toothpick, or small sculpting tools (a butter knife or even your fingers work great!).
-
Cutting Surface: A clean mat, parchment paper, or cutting board to protect your table.
-
Water: A small bowl for dipping your fingers to smooth the clay.
-
Optional for Ghosts: Black permanent marker or paint for faces.
-
Optional for Pumpkins: Brown or green paint for stems, and maybe some fall-colored acrylic paints for detailing.
-
Optional for Finishing: Clear sealant spray (matte or glossy) for durability.
Crafting Clay Ghosts 👻
These little apparitions are incredibly easy and wonderfully charming!
-
Shape the Body: Take a piece of white air-dry clay and roll it into a ball. Then, gently pinch and pull one end to form a tapered head, leaving the bottom wider and flat so it can stand.
-
Create the Drape: With your fingers, gently flatten and flare out the bottom edge of the ghost to create a flowing, ethereal shape, like a sheet blowing in the wind. You can make little ripples and waves along the bottom for more character.
-
Form the Arms (Optional): If you want your ghost to have arms, gently pull out two small nubs of clay from the sides of the body and shape them into simple arm-like forms. You can pose them as if waving or floating.
-
Smooth It Out: Dip your finger in water and gently rub over any cracks or rough spots to smooth the surface of your ghost.
-
Add a Face: Use a toothpick or the blunt end of a small tool to gently indent small eye and mouth shapes. Alternatively, you can wait until the clay is dry and draw on faces with a black permanent marker or paint.
-
Let it Dry: Place your ghost on parchment paper to dry. Depending on the thickness and humidity, this can take 24-72 hours. Flip it occasionally to ensure even drying.
Crafting Clay Pumpkins 🎃
From cute mini pumpkins to rustic gourds, these clay creations are perfect for fall.
-
Form the Base: Roll a piece of orange (or desired color) air-dry clay into a smooth ball.
-
Create Pumpkin Shape: Gently flatten the top and bottom slightly. Use your finger or a dull knife to press vertical indentations from the top center to the bottom center all the way around, creating those classic pumpkin segments.
-
Add a Stem: Take a small piece of clay (you can use green or brown clay, or paint it later) and roll it into a short cylinder or a twisted vine shape. Attach it firmly to the top center of your pumpkin, blending it slightly. You can use a tiny bit of water to help it adhere.
-
Add Character (Optional): If you want a more rustic look, use a toothpick to create small lines or textures on the stem. You can also vary the shapes—some round, some squat, some taller like gourds!
-
Smooth It Out: Use a damp finger to smooth any rough edges or blend the stem connection.
-
Let it Dry: Place your pumpkin on parchment paper to dry completely, typically 24-72 hours.
-
Paint & Seal (Optional): Once dry, you can paint your pumpkins with acrylic paints for more vibrant colors or add details. Once painted and dry, a clear sealant spray will protect your creations and give them a finished look.
Once your clay creations are dry, arrange them on your mantel, bookshelf, or as part of a centerpiece. They add a charming, handmade touch that celebrates the season without any fuss. Happy crafting, and enjoy your delightfully spooky (and sweet!) apartment decor!